
Michael Holter shares his seven steps to painting watercolor portraits.
Step 1: Shoot Straight
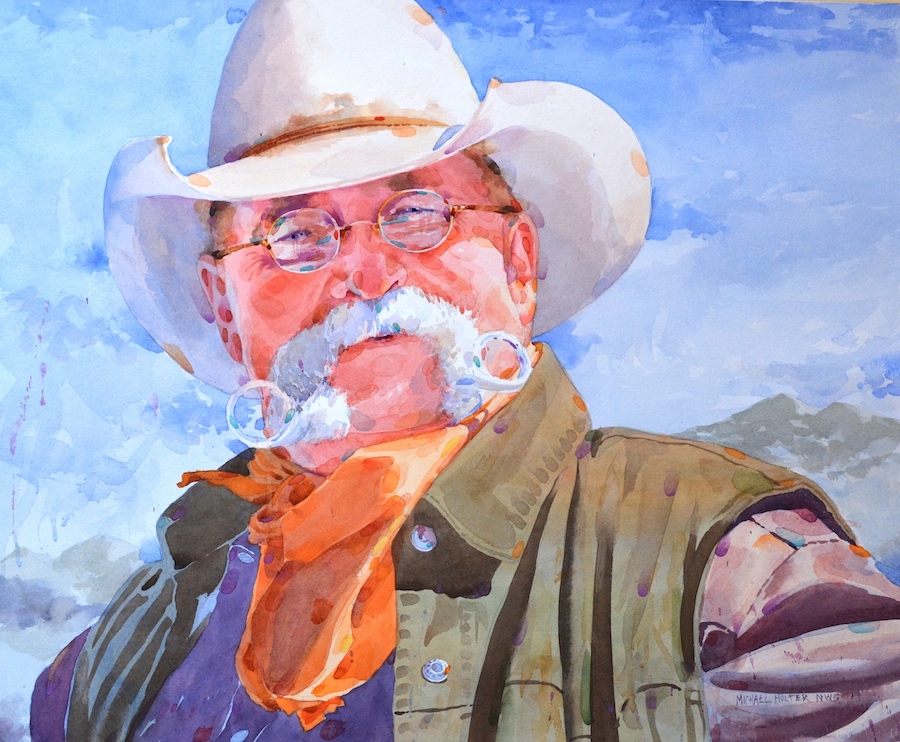
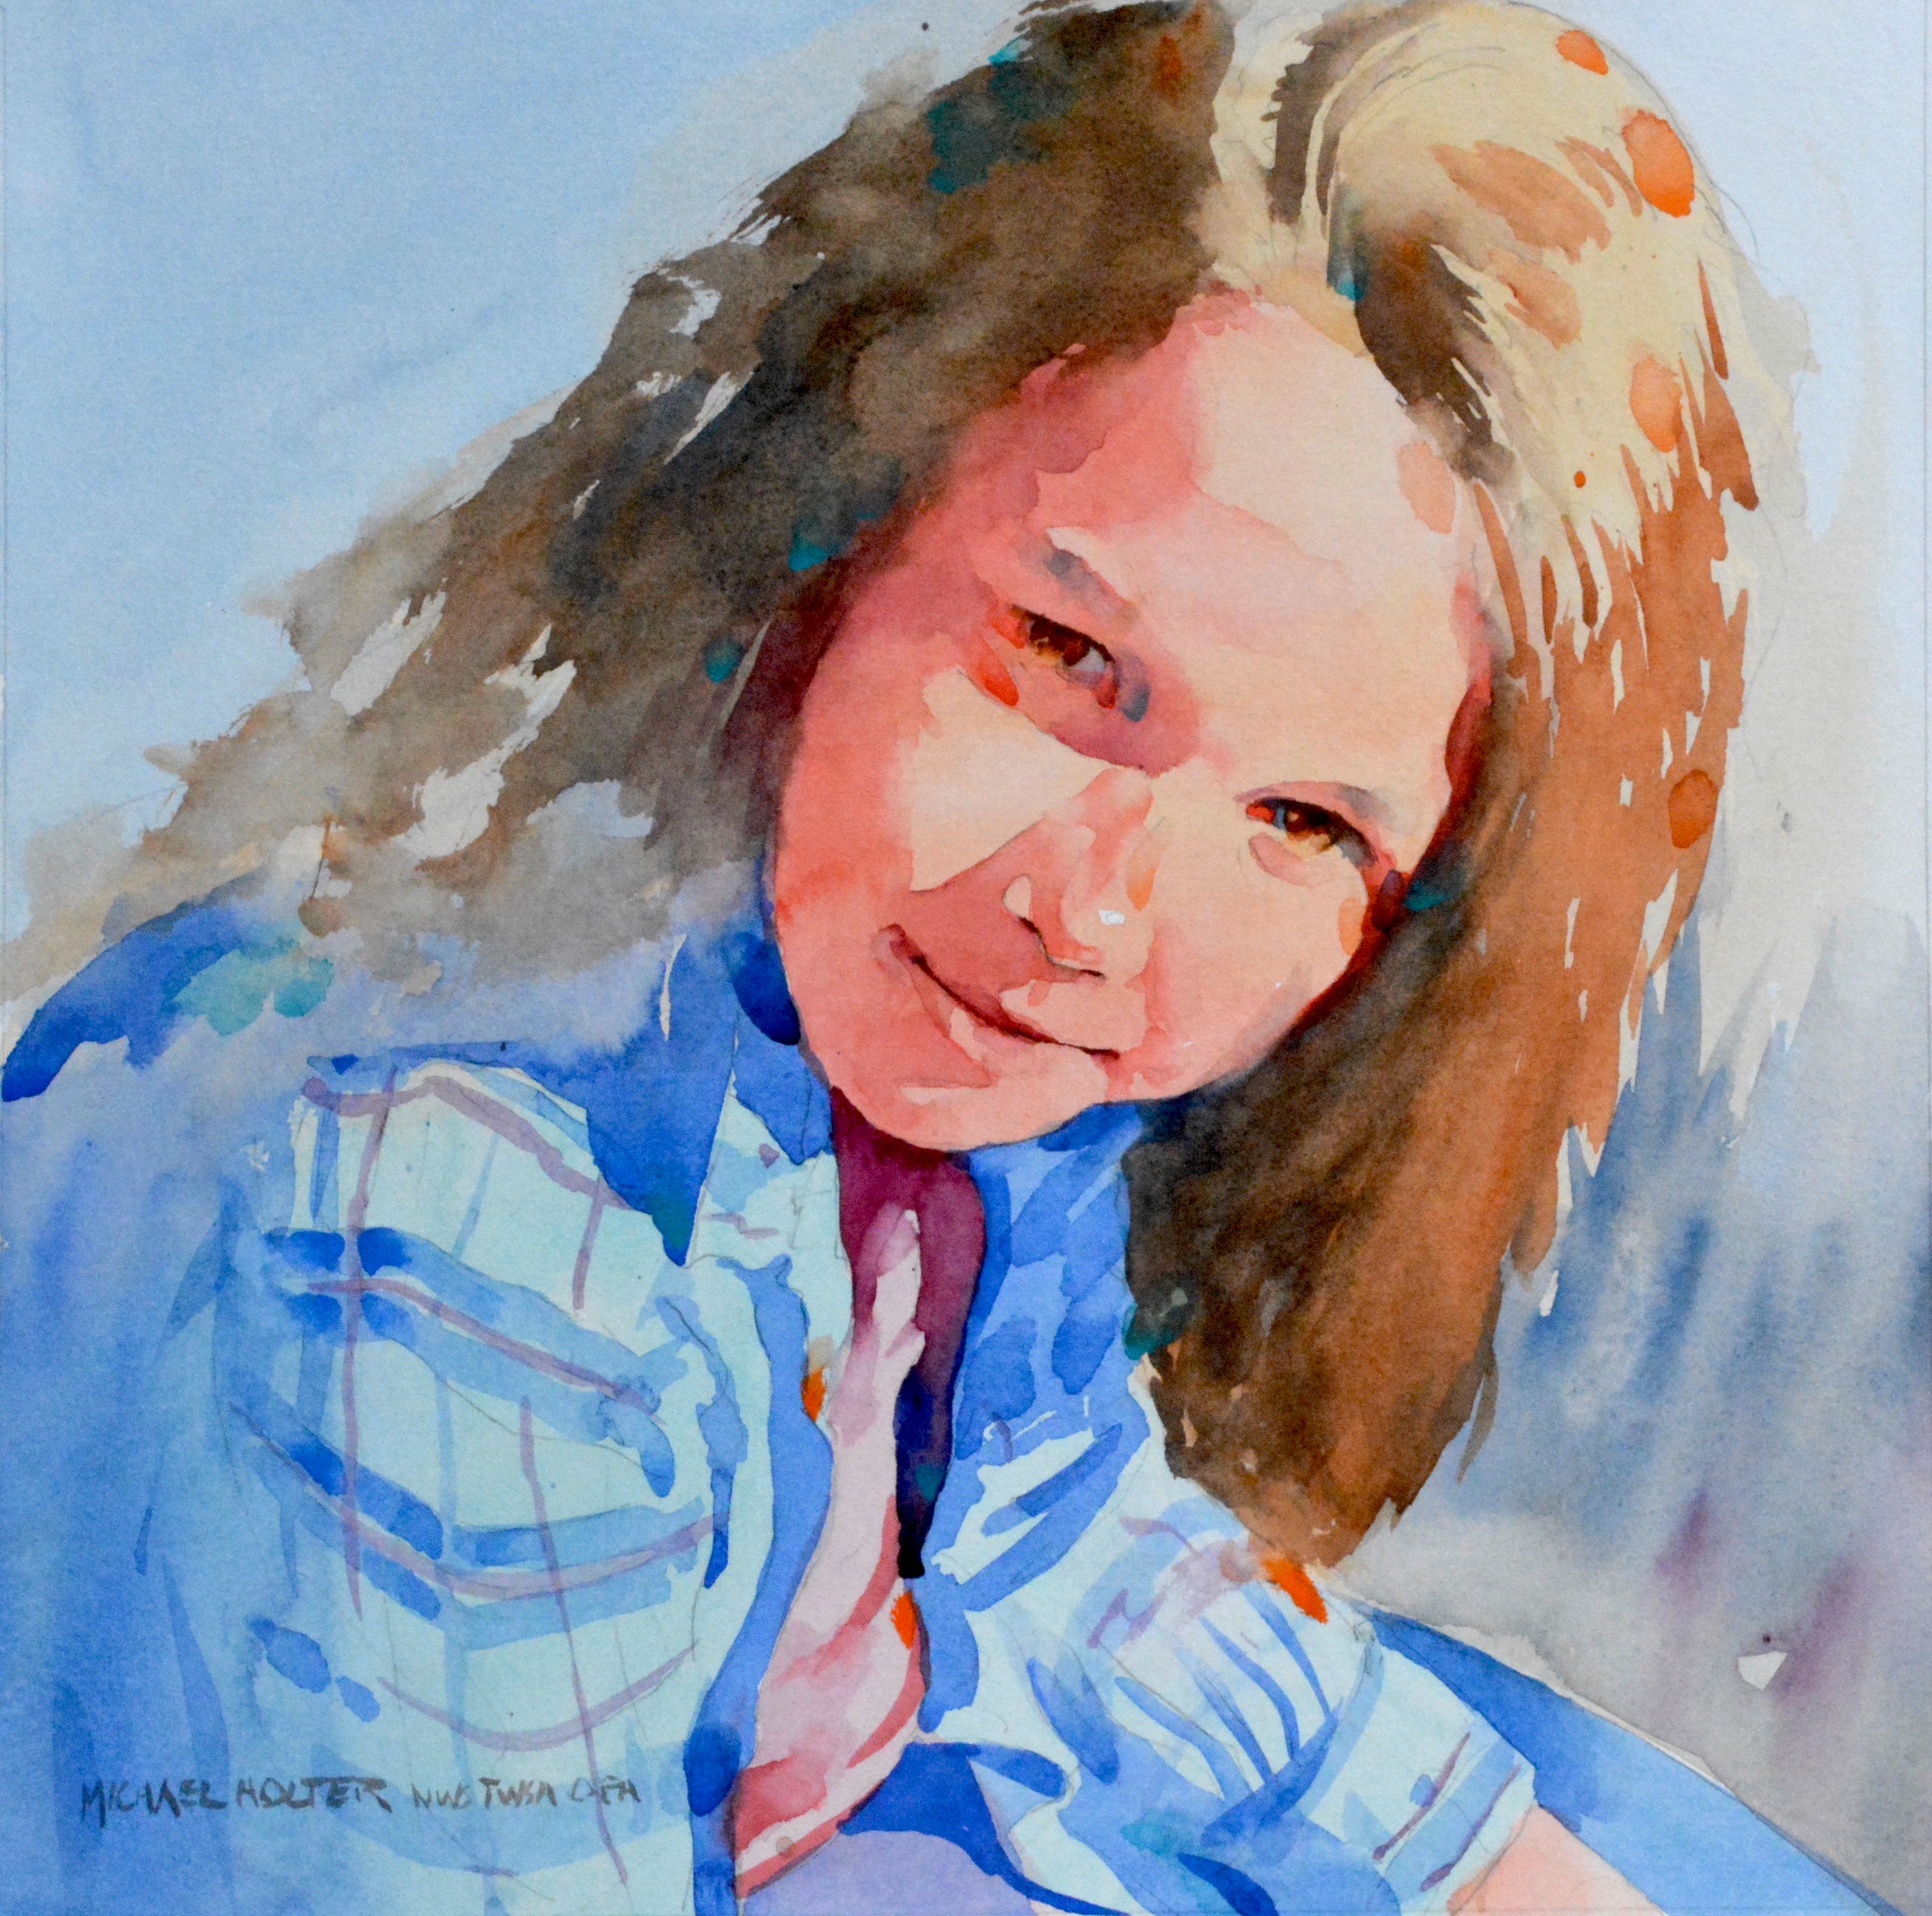
“For most of my portraits, I work from photographs — either taken in a controlled setting with a model, or candid shots when the subject was not paying attention to the camera. I like the images when the person is engaged in their own world and not conscious of me. I may take hundreds of photos in some settings to find one or two that give me what I want. I am looking for light and shadow. I usually shoot in direct sun to get the most from the way light plays on the figure. Unlike portrait photographers who like soft diffused lighting, I like to see the lines and wrinkles, the effects of reflected light, and the way a shadow can enhance the shape of the face.”
Step 2: Plan Stan
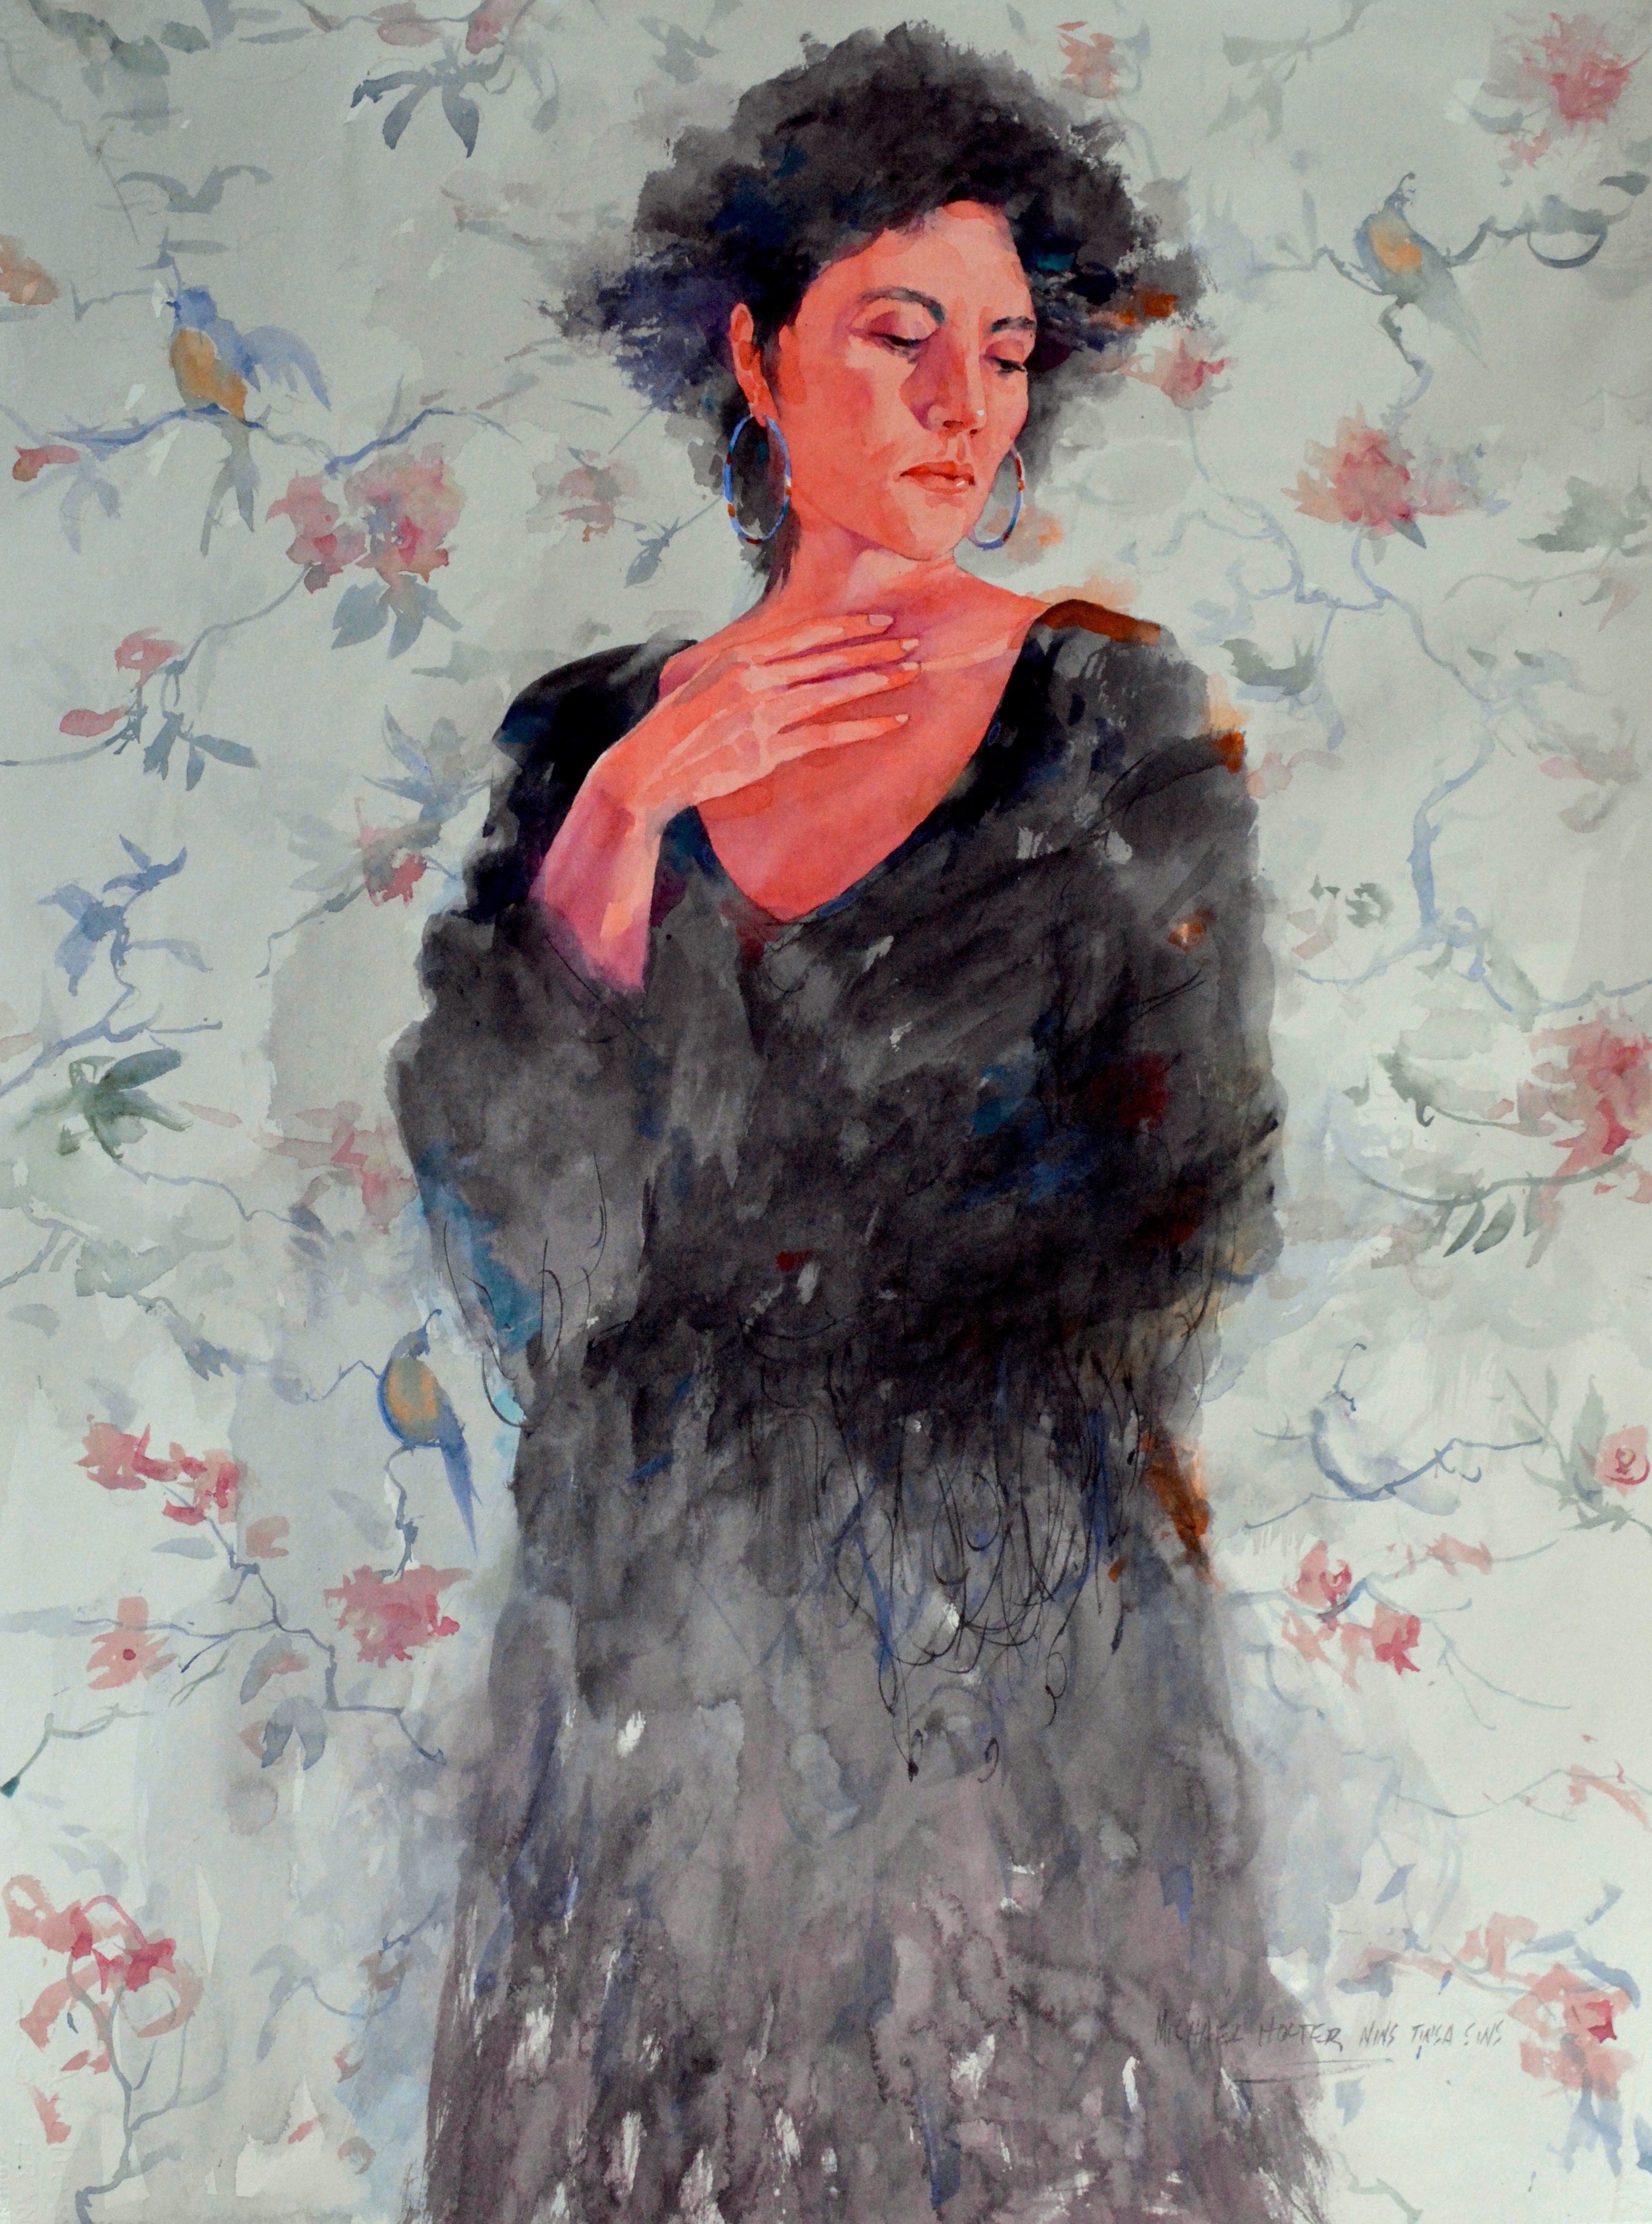
“Once I have the photos in my computer, I go through them looking for the right combination of light and shadow on the face, and a composition that will work aesthetically. I crop my figures to make the greatest impact. In many cases, I like to get in close and intimate with the face and form of the person. I work hard to make sure that the whole composition is aesthetically interesting.”
Step 3: Draw Pardner
“I then transfer the image to my paper. At this stage, I am not trying to prove my drawing skills. I recommend that my students use whatever means at their disposal to get the drawing accurately onto the paper. I am looking for a simple line drawing that captures all of the facial features, cast shadows, clothing detail and/or anything that attracted me to the image in the first place.”
Step 4: Glaze Phase
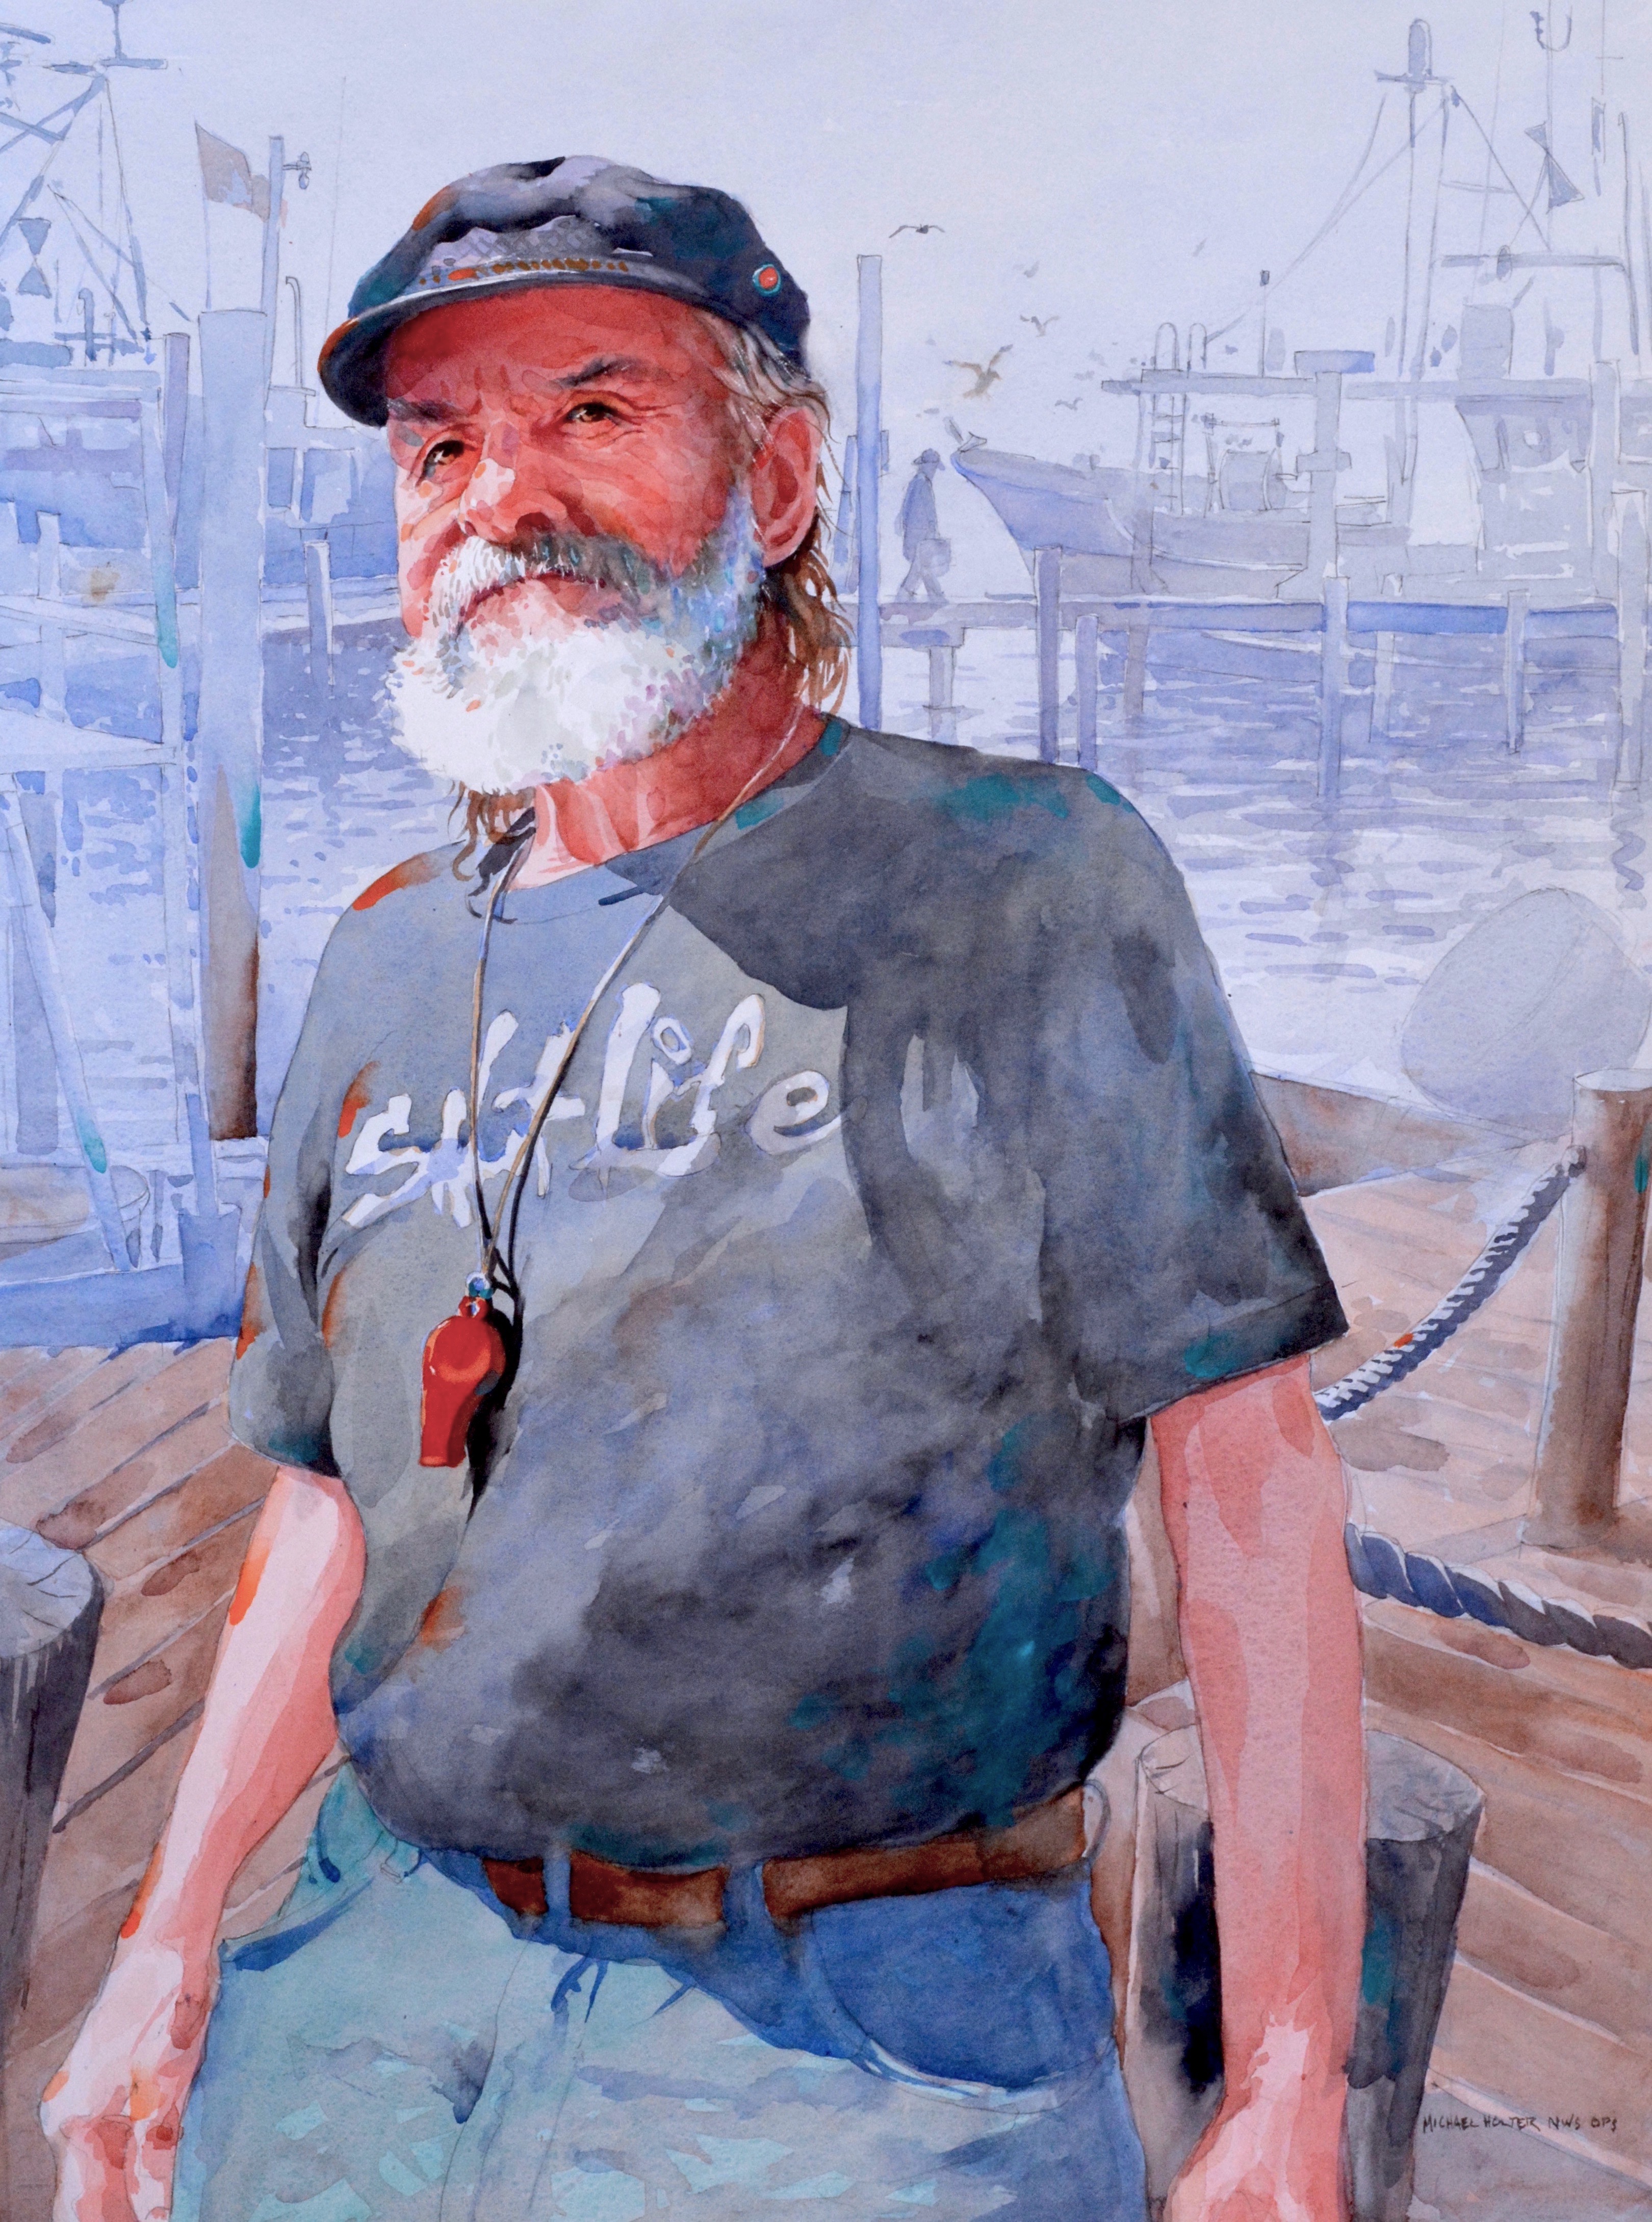
“Let the painting begin. I start with my fist value and place local color over the entire sheet of paper. As the painting progresses, having eliminated the pure white helps the eye see the correct values. The second value is then added, which includes all of the shadow areas. More glazes will probably be added as the process continues.”
Step 5: Detail Detail
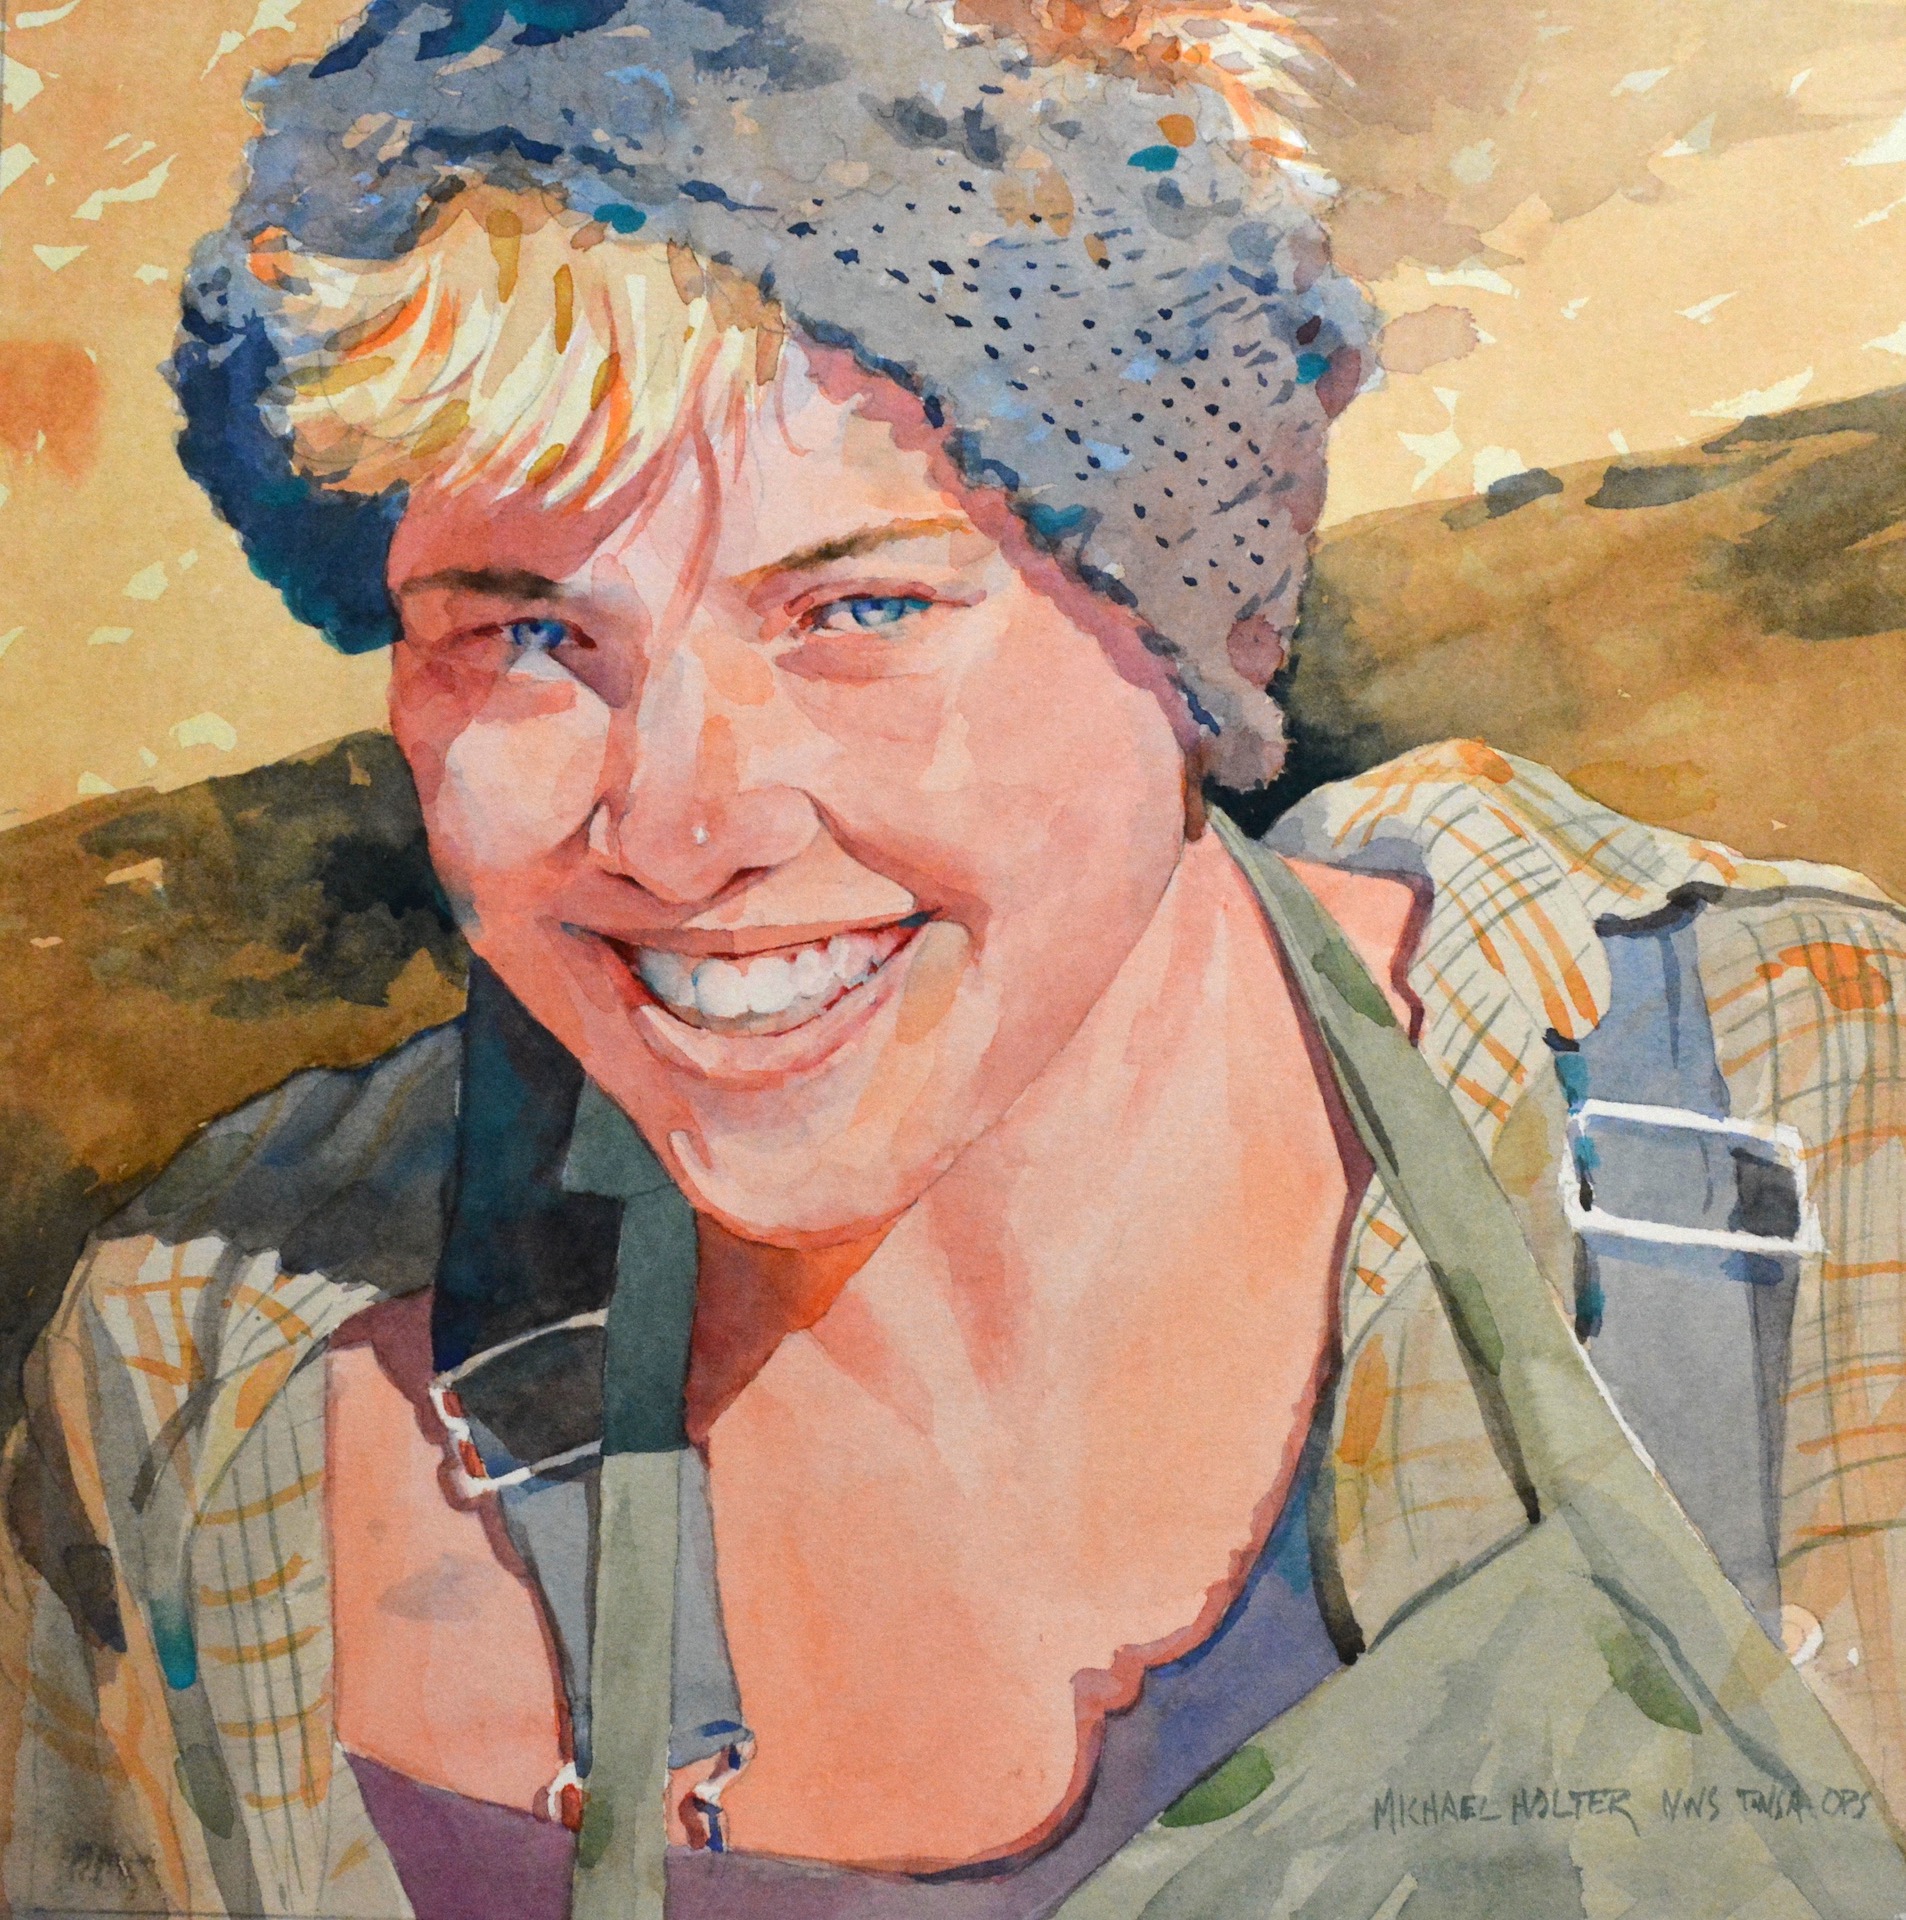
“Starting with the eyes, nose, and mouth, I carefully indicate the details. The detailing continues with additional values placed within the shadow area and within the lighted area. The face is sculpted by observing the slight changes in the contours of the face. This process may continue for quite some time depending on the complexity of the clothing and any background. It is the most intuitive part of the process and is the most difficult to communicate to students.”
Step 6: Jewel Setting
“I reserve some of the sparkle for the end of the painting when I add small facets of light and shadow to the appropriate part of the painting. Warm colors to the sunlit side of the figure and cool colors to the areas in shadow.”
Step 7: Sign it
“Sign it and take ownership of the work just completed.”
Michael Holter demonstrates his process in more detail in his video workshop, 7 Steps to Watercolor Portraits!


